email: hzsp@hzsuper.com

How to Organize Office Files
How to Organize Office Files
Organizing office files can be a difficult task, especially if you have large amounts of files and documents, but it does not need to be a painful process. Planning ahead and deciding on a file system can help you organize your files to suit your business and ensure that you will find important documents more efficiently. Once you have your files in good order, you then need to stick to a consistent system to maintain your files that way.
1.Create file categories.

The first thing to do if you want to organize your files is decide what major categories you will use for sorting. Different kinds of offices will have different kinds of categories, but the general system is the same. You need to figure out a system that sorts your files in a meaningful way.[1]
For example, if you work in a law office and need to organize client files, you might sort by general case types: litigation, probate, corporate, administrative, and others.
2.Set up subcategories.
Within each single category, you can get more specific by developing a list of subcategories. Any individual piece of paper that needs to be filed can be defined by two terms -- the general category and then the subcategory.[2]
For example, if you are setting up a filing system for financial matters, you might have a general category of “Outgoing Payments,” and then set up subcategories of vendors, suppliers, services, professionals and administrative costs.
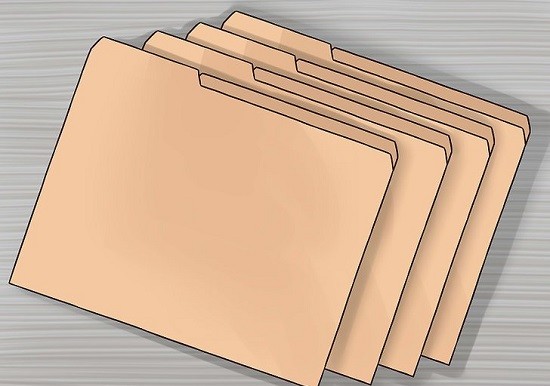
3.Use a color-coding system.
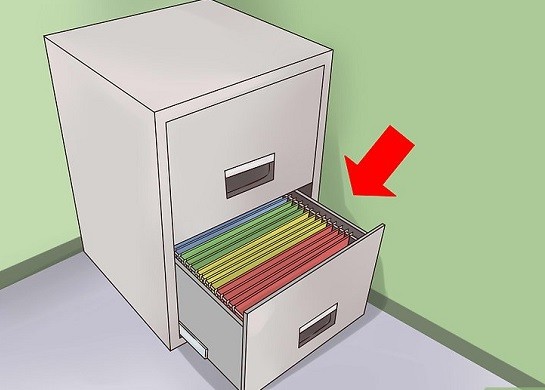
This sounds simple, but it can be a very effective way to organize your files for quick access. Decide how many different categories you will have in your filing system, and then use that many different colored folders.[3]
Instead of using folders that are completely colored, you can use regular manila folders and get colored stickers. You can then affix the stickers on the top tab, on the edge of the folder, or both for more visibility.
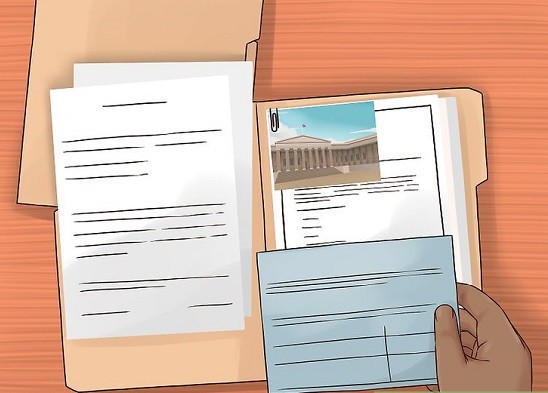
4.Label the files.

Each file in your office now has a clear place to be. You should write the label on the tab of each folder clearly and neatly so you will know where it belongs. The label on each individual folder should start with the general category and then be followed by the specific subcategory. For example, a folder containing records of payments to your vendors would have the label, “Outgoing Payments / Vendors.”
The labels on each file should be printed as neatly and consistently as possible. You can very easily buy a software packages that will allow you to format labels, so you can type and print them using your computer.
If you print your labels with your computer, you should use a consistent font size and style. If you are printing by hand, you should try to be consistent and as neat as possible.
5.Sort the files alphabetically.
When your filing system is established and you have created all your folders, then put them in order. You should sort the general folders alphabetically. Within each general folder, the subcategories should all be sorted alphabetically as well.[4]
You may choose to sort some information by date rather than by a topic label. If so, then you will need to decide for yourself if it makes more sense to sort your files with the newest items in front and move to the oldest, or vice versa.
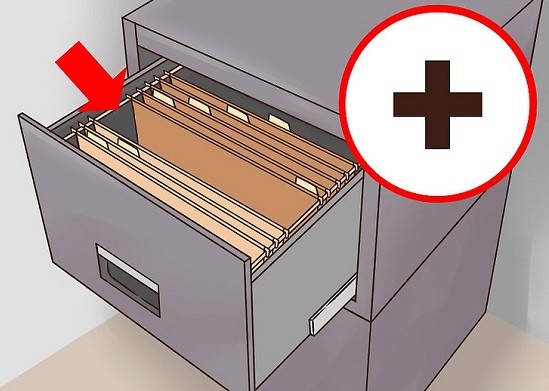
6.Leave several inches of space in each filing drawer.
When you are establishing your filing system, you need to leave room for the files to grow. As time goes by, you will undoubtedly receive more papers to add to each folder. Leave space for your files to expand. Otherwise, you will have the difficult task later of moving entire sections or file drawers in order to make room

ADDRESS:
Jingda Road ,Shanlian Development Zone , , Hangzhou , ZheJiang

PHONE:
+86-571-88963565

E-MAIL:
hzsp@hzsuper.com

Escriba su mensaje por favor
- Móvil
- *Título
- *Contenido